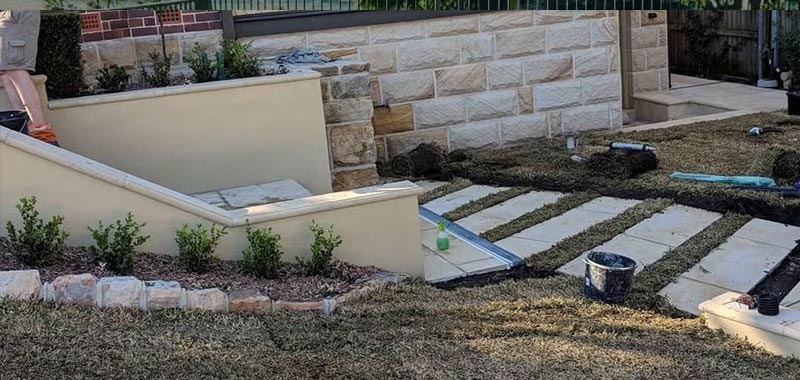
IF YOU’RE LOOKING TO CREATE A BEAUTIFUL AND FUNCTIONAL LANDSCAPE, A ROCK RETAINING WALL CAN BE A GREAT ADDITION. NOT ONLY DOES IT ADD A NATURAL ELEMENT TO YOUR YARD, BUT IT ALSO SERVES THE PRACTICAL PURPOSE OF HOLDING BACK SOIL AND PREVENTING EROSION. WHILE BUILDING A ROCK RETAINING WALL IN SYDNEY MAY SEEM LIKE A DAUNTING TASK, IT’S ACTUALLY A RELATIVELY SIMPLE PROCESS IF YOU FOLLOW THESE STEP-BY-STEP INSTRUCTIONS.
STEP 1: PLAN AND DESIGN
The first step in building a rock retaining wall is to plan and design the wall. You’ll need to determine the size, shape, and height of the wall. It’s important to take into consideration the slope of the land, the type of soil, and the amount of water flow in the area. Also part of this process is to ensure that it meets the Australian standards for retaining walls. This will help you determine the best location for the wall and ensure that it’s built to last.
STEP 2: PREPARE THE AREA
Once you’ve determined the location and design of the wall, it’s time to prepare the area. You’ll need to clear away any debris, rocks, and vegetation from the site. This will ensure that the wall is built on a stable surface and will prevent any unwanted growth from pushing through the wall.
STEP 3: EXCAVATE THE AREA
The next step is to excavate the area where the wall will be built. You’ll need to dig a trench that’s deep enough to accommodate the first layer of rocks. The width of the trench will depend on the size of the wall, but it should be wider than the base of the wall to ensure stability.
STEP 4: LAY THE FIRST COURSE OF ROCKS
The first course of rocks is the most important as it provides the foundation for the entire wall. Start by laying the largest rocks in the trench, making sure they are level and fit snugly together. You may need to use a sledgehammer to break some of the rocks to get them to fit correctly.
STEP 5: CONTINUE BUILDING THE WALL
Once the first course of rocks is in place, continue building the wall by laying additional layers of rocks. Each layer should be slightly smaller than the previous layer, with the smallest rocks used for the top layer. Make sure each layer is level and fits together snugly.
STEP 6: BACKFILL THE WALL
Once the wall is complete, it’s time to backfill the area behind the wall. This will provide additional support for the wall and prevent soil erosion. Fill the area behind the wall with soil and compact it with a tamper to ensure stability.
STEP 7: FINISH THE WALL
The final step is to finish the wall by adding any additional features you desire, such as wall cladding tiles or a drainage system. These features can help to enhance the overall look and functionality of the wall.
In conclusion, building a rock retaining wall is a relatively simple process if you follow these step-by-step instructions. It’s important to plan and design the wall, prepare the area, excavate the area, lay the first course of rocks, continue building the wall, backfill the wall, and finish the wall. With the right tools and a little bit of patience, you can create a beautiful and functional landscape that will last for years to come.
